How to Choose a PC Case: Airflow, Fit, Noise, and Features That Matter

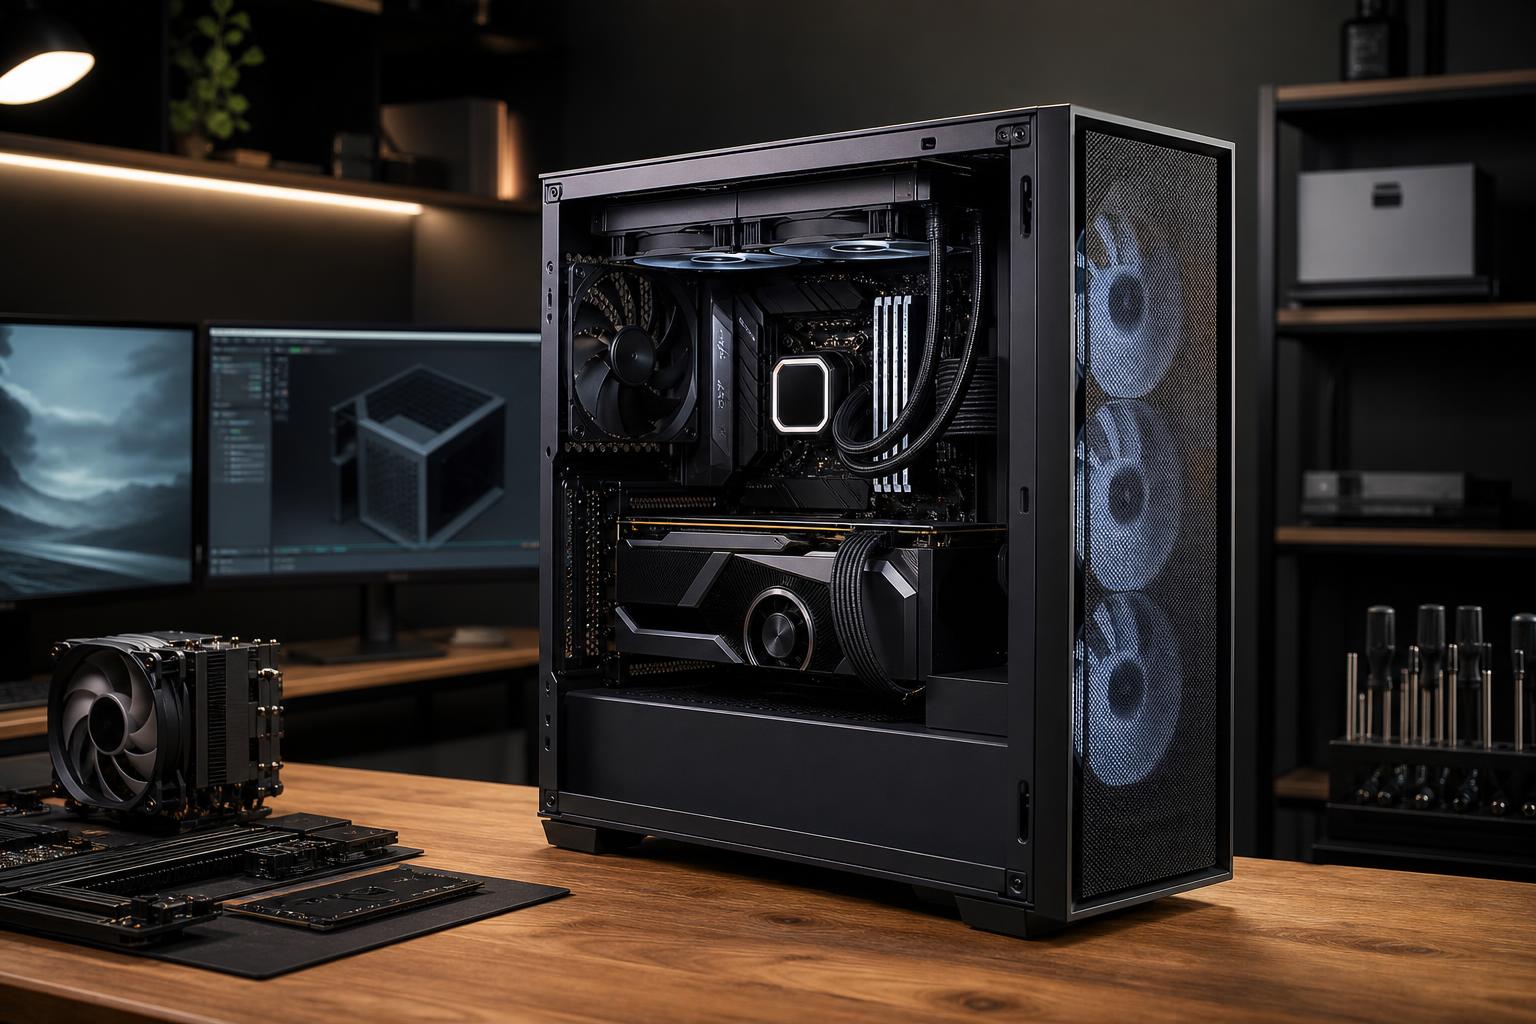
A PC case is easy to treat as decoration: pick a color, add some glass, and move on. That’s a mistake. The case determines how much room your graphics card, cooler, power supply, drives, and cables have. More importantly, it strongly affects temperatures, fan noise, maintenance, and how easy the system will be to upgrade later.
For most buyers, the right answer is not the largest or most expensive case available. It is a well-built case that fits the hardware properly, moves air without restriction, and includes the features you will actually use. Here is how to choose a PC case without getting lost in a maze of RGB photos and vague “premium airflow” claims.
Cases are commonly grouped by the motherboard sizes they support. The main formats are ATX, Micro-ATX, and Mini-ITX.
Motherboard compatibility is only the first filter. An ATX mid-tower may support your board but still be a poor fit for a very long graphics card, a thick front radiator, or several hard drives. Always check the detailed clearance specifications.
High-performance components turn electricity into heat. A good case gives that heat a clear path out of the system. In practical terms, that usually means a ventilated front panel, properly placed fans, and enough room around the graphics card.
For most systems, we prefer a mesh or otherwise open front intake over a solid glass or metal panel with narrow side vents. Solid-front cases can look clean, but they often make the intake fans work harder. That can mean warmer CPU and GPU temperatures, higher fan speeds, and more noise during games, renders, or long compiling jobs.
The most reliable starting point is two or three intake fans at the front and one exhaust fan at the rear. Intake fans bring cool room air across the graphics card and toward the CPU cooler; the rear fan helps remove warm air. Top-mounted exhaust fans can help, especially with a hot CPU, but they are not always necessary.
Aim for slightly more intake capacity than exhaust capacity. This creates mild positive pressure, which encourages air to leave through small gaps instead of pulling unfiltered dust in through them. It will not make a dusty home dust-free, unfortunately. It does make routine cleaning easier.
Fan quality also matters. A case bundled with several decent PWM fans can be a better value than a cheaper case that requires an immediate fan replacement. PWM fans can adjust their speed automatically based on temperature, allowing the PC to stay quiet at idle and move more air under load.
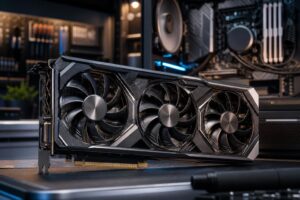
Modern high-end graphics cards are large in every direction. Length gets the most attention, but thickness and power-cable space are just as important.
First, compare the card’s stated length with the case’s maximum GPU length with the planned front fans or radiator installed. Some cases advertise generous GPU clearance, but that number drops significantly when a front-mounted liquid cooler is added.
Next, consider card thickness. A thick three- or four-slot card may cover adjacent motherboard slots. That is usually fine in a typical gaming PC, but it can matter in a workstation that needs a capture card, high-speed networking card, storage controller, or other expansion hardware.
Finally, leave enough room between the graphics card’s power connector and the side panel. This is especially important for cards using a compact high-power connector. Avoid sharply bending the cable immediately at the connector. A case with a little extra width makes safer cable routing much easier and avoids a side panel pressing against the wiring.
Air coolers need CPU cooler height clearance. Most mid-towers accommodate common tower coolers, but it is still worth verifying before ordering. A few millimeters can be the difference between a clean fit and a side panel that will not close.
For liquid coolers, radiator support is more complicated than a simple “supports 360 mm radiators” label. Check:
A 240 mm or 280 mm liquid cooler is plenty for many powerful CPUs. A 360 mm cooler can make sense for high-core-count processors under sustained workloads, or when lower fan speeds are a priority. It is not a mandatory badge of performance. A strong tower air cooler in a well-ventilated case remains a reliable and often quieter option for many gaming and mainstream workstation builds.
“Silent” cases often use sound-dampening panels and closed fronts. Those features can reduce certain sounds, but restricted airflow can force fans to spin faster under load. A well-ventilated case with quality fans and sensible fan curves frequently produces a more pleasant result: a low, steady airflow sound rather than an overheated system constantly ramping up and down.
For a quieter PC, prioritize efficient components, a capable CPU cooler, good airflow, and fans that can run slowly most of the time. Large 140 mm fans often move the same amount of air as smaller fans at lower speeds, though a good 120 mm setup can also work very well.
Hard drives deserve a mention here. Mechanical drives can transmit vibration into the chassis. If you need large-capacity hard drives for archives or media, choose a case with proper drive trays or vibration mounts. If the system uses only NVMe SSDs, you can prioritize airflow and compactness instead of drive cages you will never use.
The front or top I/O panel is a small detail that becomes very noticeable after a few months. Consider where the PC will sit. Top-mounted ports are convenient for a tower on the floor; front-facing ports may be easier to reach when the case sits on a desk shelf.
Look for the connections you actually need, such as USB-A, USB-C, and a headset jack. A front USB-C port is useful for many modern phones, external SSDs, cameras, and accessories, but confirm that the selected motherboard has the matching internal header. A port on the case is only useful when it can be connected.
Also consider dust-filter access. Front and bottom filters that slide out without moving the PC are a genuine quality-of-life feature. A neglected filter is an excellent blanket for dust and a poor plan for cooling.
A good case should have solid panels, sensible screw placement, clean edges, removable filters, and enough room behind the motherboard tray for cables. These details do not increase frame rates, but they affect reliability and serviceability. A cramped, poorly designed case can turn a simple storage upgrade or fan replacement into an afternoon of scraped knuckles.
For most single-GPU gaming PCs and workstations, we recommend a quality airflow-focused ATX mid-tower. It provides the best balance of cooling, component compatibility, noise control, and upgrade room. Move to Micro-ATX or Mini-ITX when compact size is a real priority, not just because the smaller case looked appealing in a product photo. Choose a full tower only when the hardware list gives you a clear reason.
The case should support the computer, not dictate bad component choices. If you are putting together a gaming PC or professional workstation and want the cooling, size, and component layout checked as a complete system, contact Overclock Computers. We can help design a build that fits your workload and your space without wasting budget on parts or features you do not need.